or the Tale of Two Cardigans…
Driftless and Megan cardigans
I confess I’m one of those people that decide they want a cardigan and then endlessly obsess over ALL the cardigan patterns. I do this for most garments. I comb through all the independent and Big 4 options. I’ll pour over blog posts, Google images, websites and in-store catalogues. I’ll decide what I want to make and then when I go to pick up the scissors… I’ll change my mind.
While Vogue 8780 continues to be one of my most worn and loved cardigans/jackets, I did want to find another cardigan pattern for a little variety.
I confess that I was luke warm when both the Grainline Driftless Cardigan and the Tessuti Megan Cardigan were released. Nothing wrong with either, perhaps it’s the simple fact that cardigans are practical garments and it’s hard to get a blood rush about them?
To solve my usual inability to lock myself down to one pattern, I decided to make two different cardigans. I find sewing multiple versions of one pattern or different patterns of a similar garment interesting. Seeing how different fabrics change the same garment or comparing different features and construction of two garments is always interesting to me.
DRIFTLESS CARDIGAN
I’ve always found Grainline patterns to be endlessly wearable. I think Jen designs the perfectly practical, highly wearable designs that always seem to go together without a fuss. I also find her designs fit me well and so I keep returning to her patterns. My three Alder dresses and little linen Morris are some of my favourite things to wear.
Features
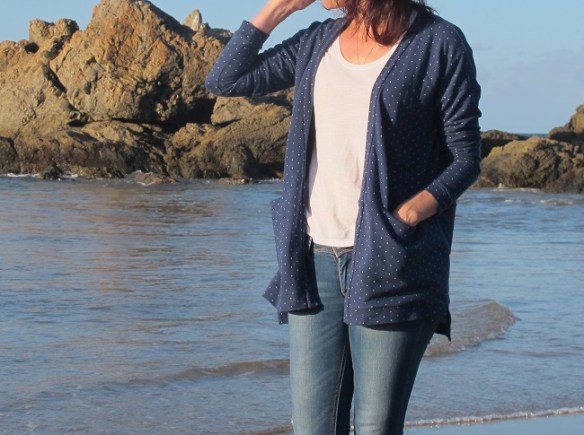
The Driftless body is very wide and boxy with dropped shoulders and very fitted sleeves.
The pockets remind me of the Vogue 1247 skirt and are constructed in a similar way – minus all the Hong Kong binding of course! I’ve noticed that these sorts of pockets are popping up in a lot of RTW cardigans this winter in Australia.
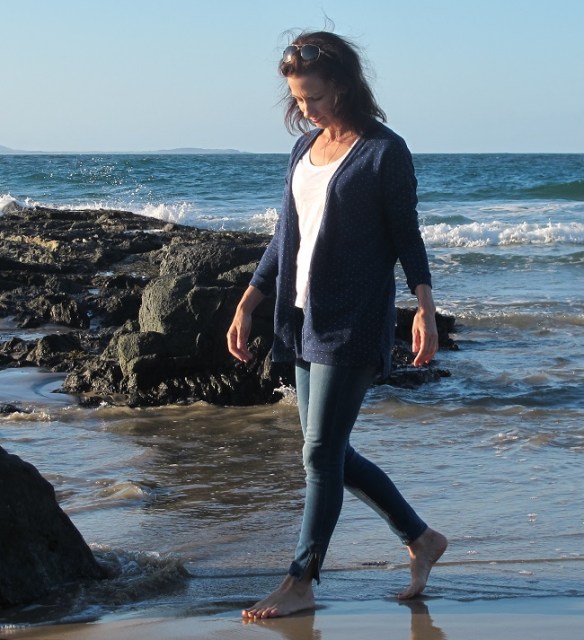
Driftless Cardigan – Grainline Studios. Front view.
Construction
This is a very easy cardigan to construct – don’t let those pockets fool you. I managed to cut this out and nearly complete it in an evening. It’s largely constructed on the overlocker (serger) with the exception of the pockets, thread chains and hand sewing down the neckband.

Driftless Cardigan – Grainline Studios. Back view. I do like how it hangs across my back. I am a definite ‘slouch’ girl.
Thoughts
It’s a bit ‘Sunday afternoon’. Very casual, slouchy and not very dressy. I guess that sounds negative but it’s not at all. Those types of garments have a place in many wadrobes. Can’t be ‘fancy pants’ all the time! While it isn’t my favourite cardigan, it’s been worn a lot anyway as it’s ‘easy’ to wear, the type of garment you grab as you head out the door in case the breeze turns chilly. I don’t think my fabric choice helped. It’s some sort of cotton knit terry fabric… from the bargain table at Spotlight. I think it would be might nicer in a marle, slightly textured, merino knit. It may also be interesting with thoughtful colour choice as a colour-blocked cardigan.
I made view B with the split hem that is slightly lower at the back.
Driftless Cardigan – Grainline Studios. Back view.
MEGAN CARDIGAN – Tessuti Fabrics
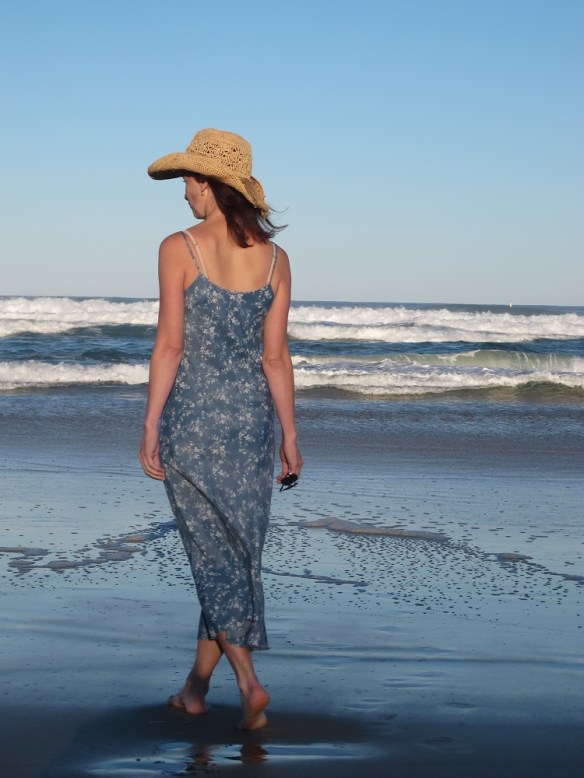
Now this lass and I became instant best friends. I’ve worn Megan a lot. She’s popped up on my Instagram feed quite a few times already. She was impatient and didn’t want to wait to be blogged. She simply screamed ‘WEAR ME – you know you want to’ and so I did.
I honestly had dismissed it as being ‘not for me’ as I had concerns about the fit on me, I thought the shoulders would be too wide and it would swamp me… thanks to the encouragement of Melanie, I decided to give her a try.
I do own several beloved longline RTW merino cardigans. They seem to go with everything from dresses to jeans, casual wear and a stylish office warmer on those chilly air conditioning days. Logically I should have made this cardigan a long time ago, alas I’m not always logical when it comes to my creative pursuits.
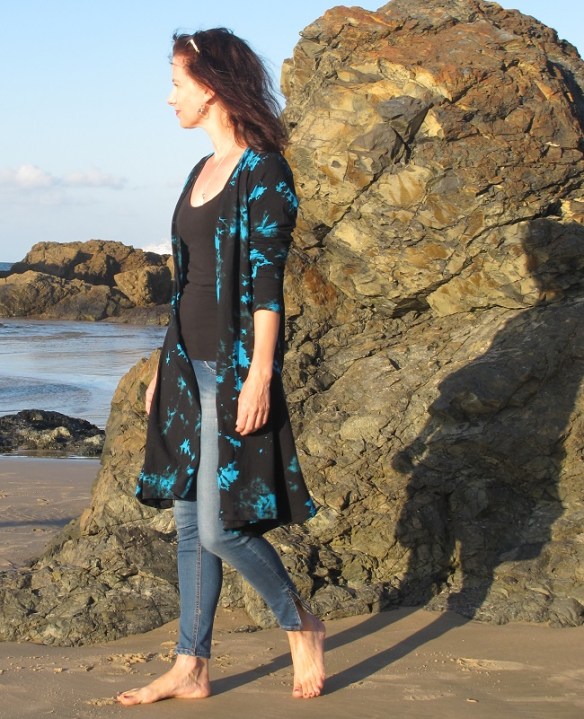
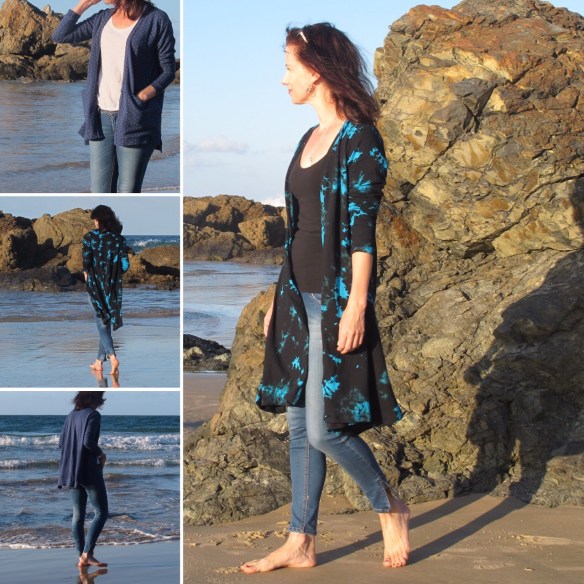
Megan Cardigan – Tessuti. Side View
Features
Megan is a very simple cardigan, full length sleeves, flared side seams and a quirky side hem detail.
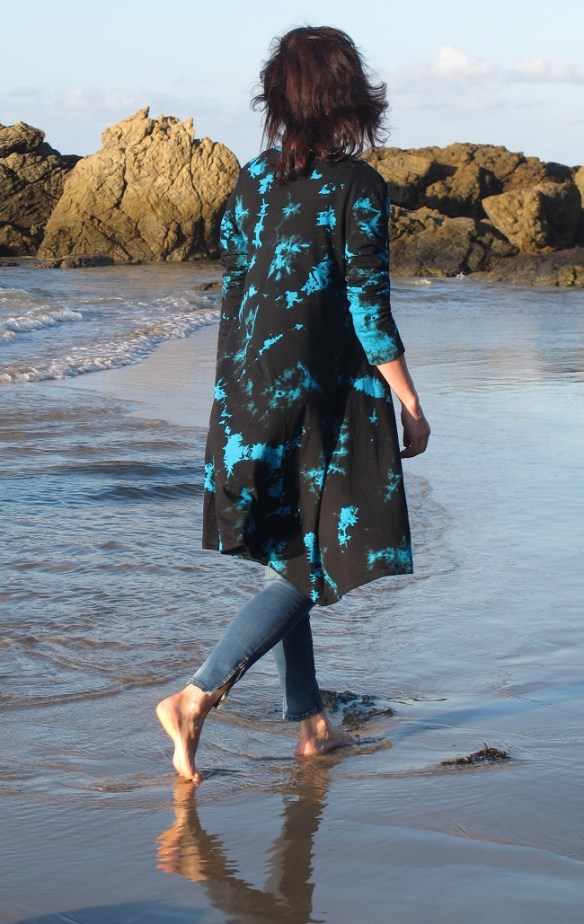
Megan Cardigan – Tessuti. Back View
Construction
Again a very simple sewing project. Sewn up in no time at all on the overlocker with the shoulder seams having added seam tape to keep them in shape (I also did this with Driftless).
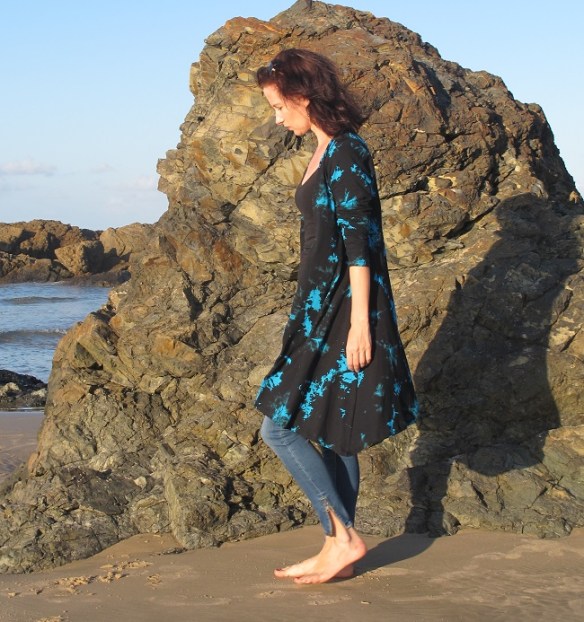
Megan Cardigan – Tessuti. Oh that lovely little side hem detail 🙂 It makes my heart sing.
Thoughts
I adore this cardigan. I’ve received an amazing amount of compliments on it when it’s worn – which I think is the combination of the lovely flare of the hemline and the rather funky fabric that I paired with this pattern. It’s been worn a lot in its short life so far. I guess it also slots perfectly into that grungey casual vibe that I love to wear.
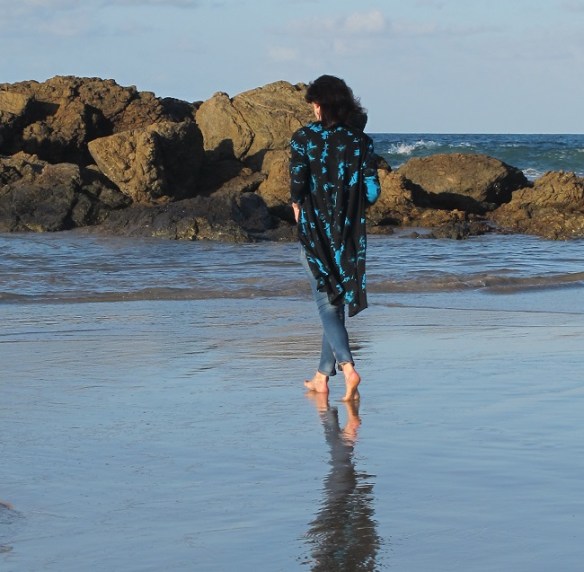
Megan Cardigan – Tessuti. Back View – a nice flare without being overly cumbersome in ‘swooshiness’
The fabric I have had stashed for about three years, waiting for the right pattern as I feared the wrong choice would drop me into tragic acid wash territory. I picked this up at Clear It in Melbourne for the less than princely sum of $4 a metre. It’s certainly not high quality, a simple cotton interlock but it just seems to work with this pattern design.
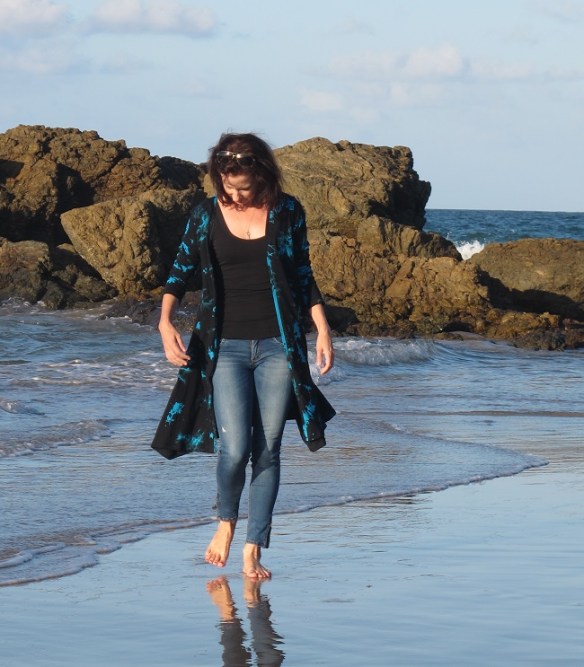
Megan Cardigan – Tessuti. front view
There will be many more Megans in my wadrobe in the future. The perfect layering cardigan.
ALSO SEE
Driftless: I simply visited Instagram and searched for the hashtag #driftlesscardigan
Megan: Made by Melanie | Clever Tinker | Boo Dogg | Rennous oh Glennuss