I had a week off work – and what can I say, I got productive!
This time I decided to challenge myself to sew from my seemingly endless stash (again) and also to sew an outfit using ‘remnant bin’ rescues.
For no particular reason… it just seemed like a good idea.
I was originally inspired by these two pieces I had found sitting alongside each other.

Rayon knit and khaki linen – looked so good together!
I had 1.6m of print rayon knit and 1.4m of khaki linen.
I played with several ideas for the top but eventually settled on the Rise Turtleneck by Papercut Patterns. I had this pattern in my stash, having made the Fall Turtleneck a couple of years ago.
There isn’t much to say about this! It’s an easy make, I cut and finished this in about 90 minutes – extra time spent on hems. I was between sizes and decided to make up the Small instead of the Extra Small. It’s a looser fit – but not baggy. I think I will add more of these basics to my wardrobe. Easy, comfortable and practical.
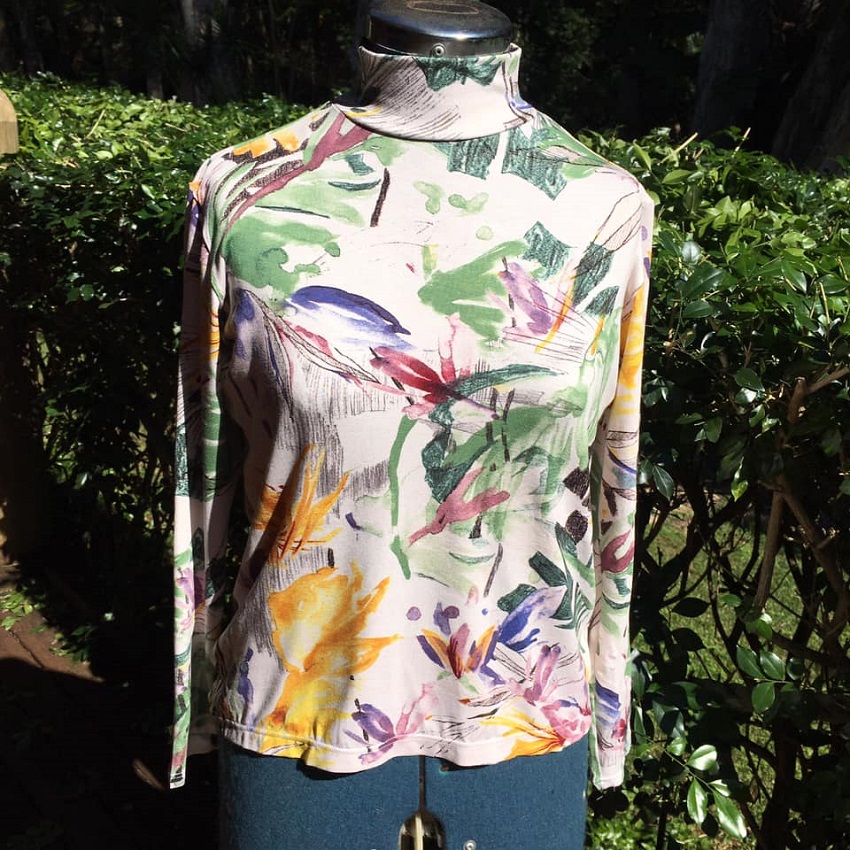
Rise Turtleneck by Papercut Patterns in a rayon knit
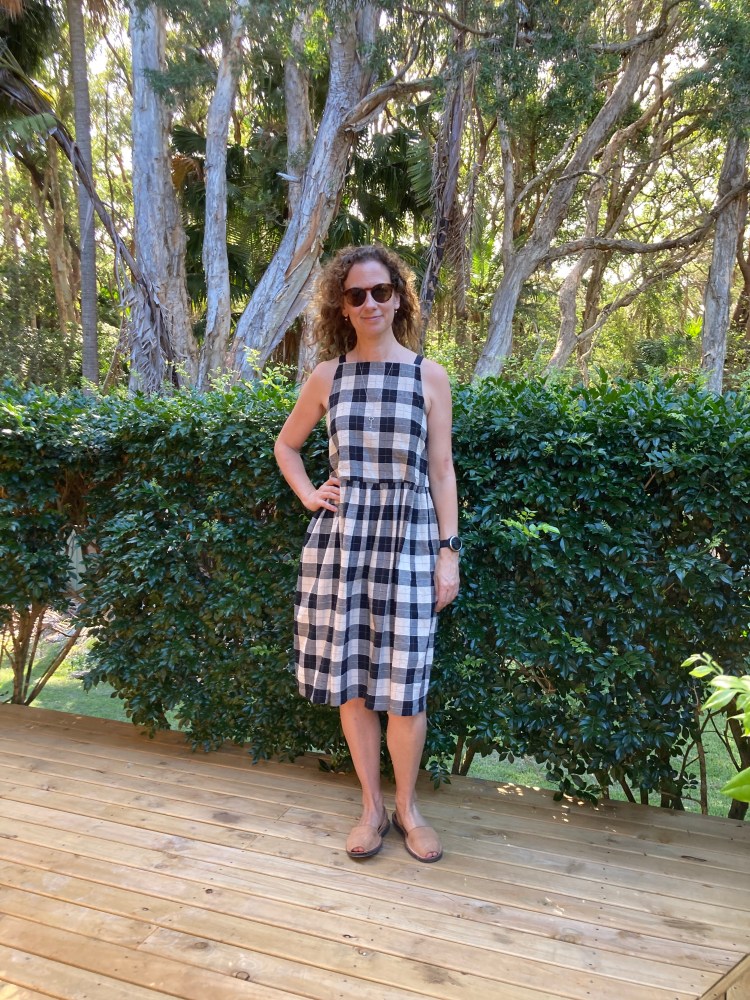
I was prevaricating between a loose pinafore style dress, trousers or a straighter pinafore style… and in the end I chose none of these options.
I almost made trousers… well I actually did make trousers – just not khaki ones! I whipped up a test pair in my last piece of cotton/linen (see my Pipit post) and decided while I didn’t hate the trousers, I would like them much less in a solid, prone-to-crinkle linen. And I didn’t think a fitted turtleneck would pair very well with front-pleat trousers and elastic in the back waist.

This was just a test with my leftover linen. Pull-on pants with front pleats and elastic back waist. Pattern from Kana’s Standard
I was SO tempted to put the fabric aside and move onto something else… however that’s not really the point of a challenge. The challenge is to finish.
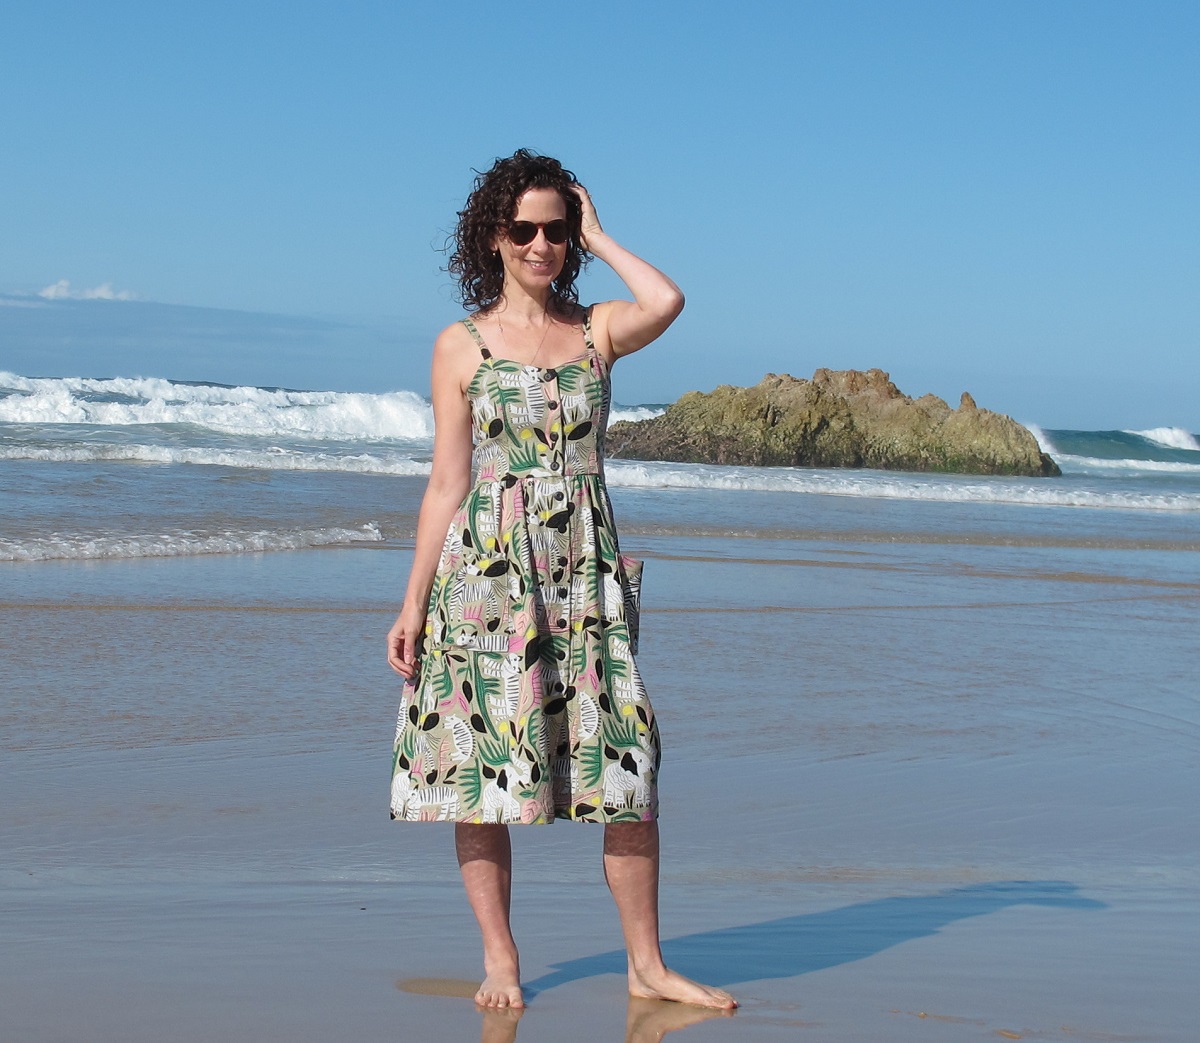
I got up the next morning and pulled out my Tessuti Patterns, Sadie and Claudia. I umm-ed and ahh-ed and decided I would prefer the neckline of the Sadie with a turtleneck for autumn layering. This was a real squeeze on 1.4m of fabric – however as I am 5 foot 3-ish, I’ve shortened my Sadie pattern pieces considerably and it ‘just’ fit.
I’ve made this dress four times now! After my first version, I lengthened the facing pieces to be much longer – a similar length to the Ogden Cami by True Bias.
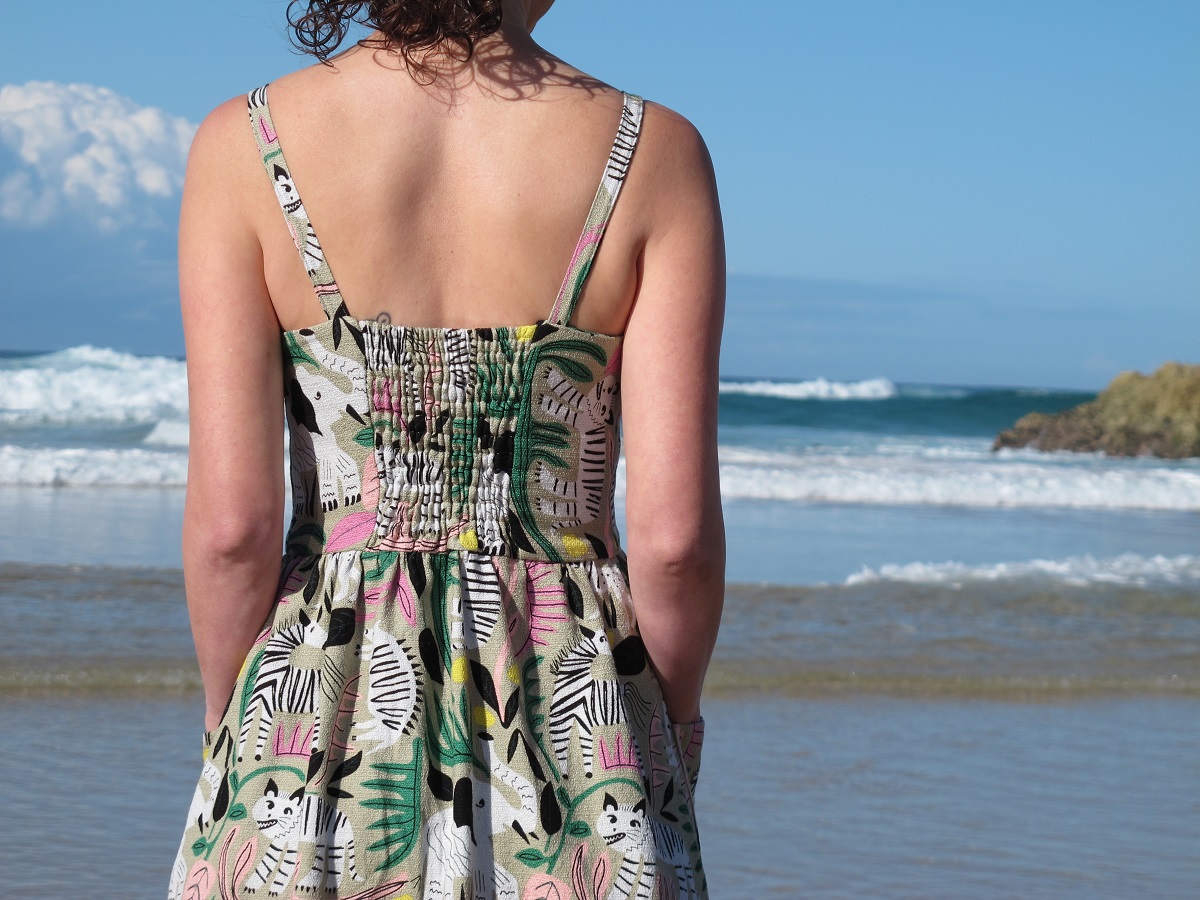
I discovered with my first version, that the neckline facing wanted to roll outwards a lot – despite understitching. I’ve also seem this on other Sadies and even saw someone at The Fabric Store wearing one with the facing stitched down from the outside – which probably helps but the visible stitching would annoy me. I’ve found by lengthening the facing, almost a half lining, the rolling is minimised. I still use the original facing pieces and just cut interfacing using these and apply the interfacing to the top of the facing pieces.

Sadie Slip Dress, Tessuti Patterns. Inner lining/facing
I added the optional back fisheye darts as the linen has much less drape than my versions in lightweight tencel denim and silk.

Very windy afternoon – sorry! There are fisheye darts in my back!
I left the hem raw. I will run a line of stitching around the edge to keep fraying slightly under control – however I love a bias frayed hem and in linen it adds some rustic charm.
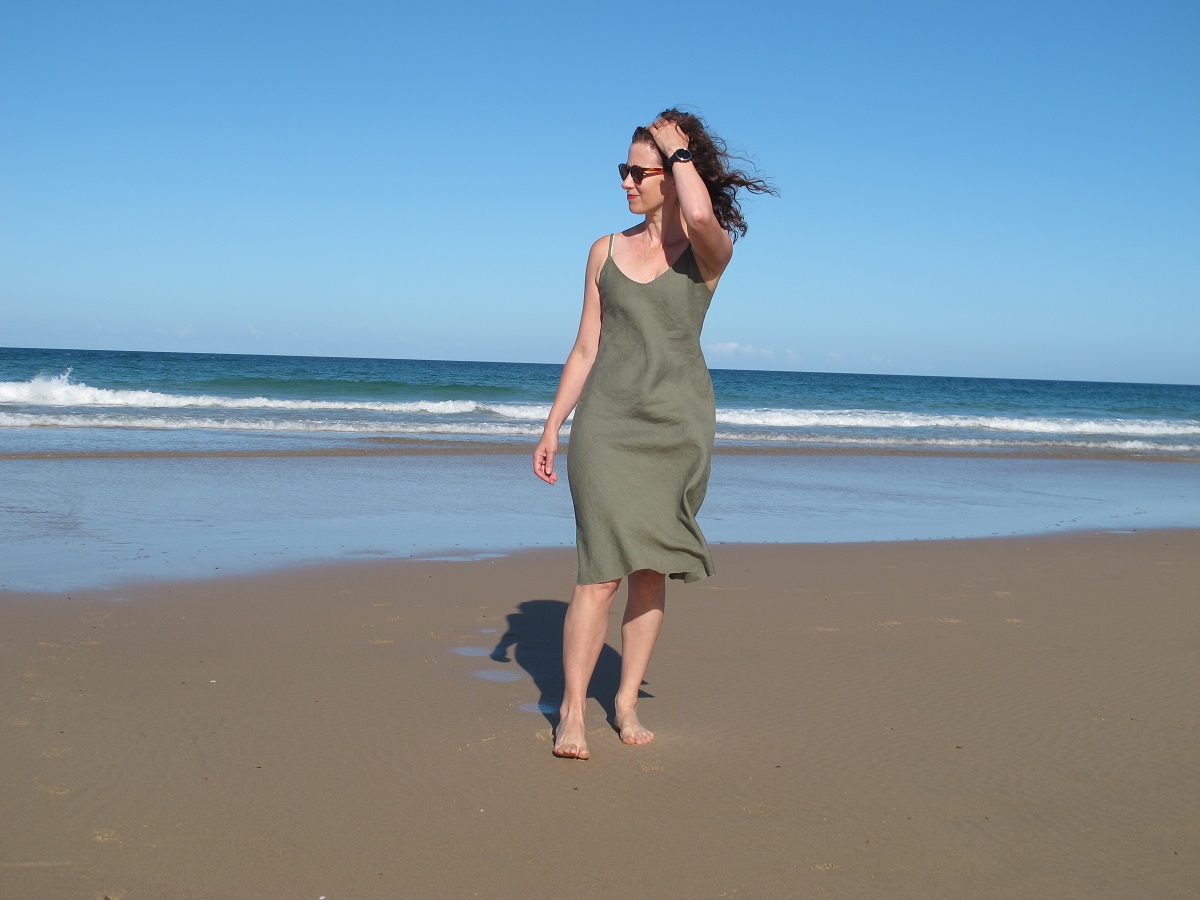
A linen Sadie Slip Dress. Taken on a windy afternoon!
I’m surprised just how much I like this! An incredible simple, versatile sundress. Or slip under a shirt or jacket – or layered with a turtleneck. Will look great with a faded denim jacket and sneakers.
It’s been very warm for late autumn, today it as 28 degrees – so no photos with the turtleneck other than a garage selfie (currently dance studio and gym).
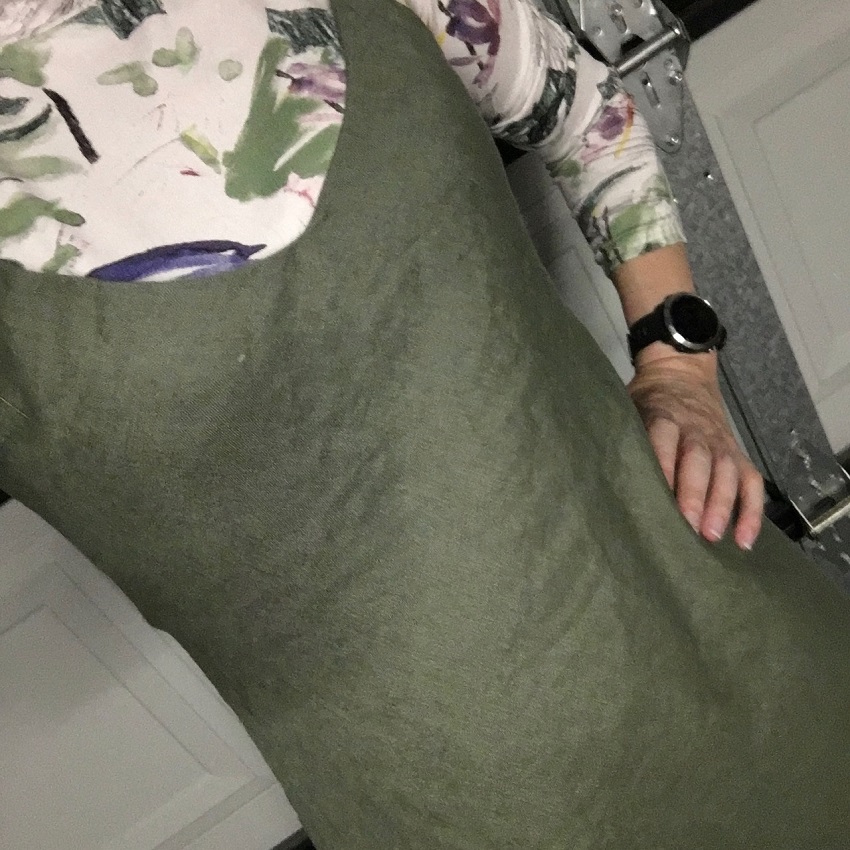
garage selfie late in the evening

Sadie Slip Dress and a Rise Turtleneck – hoping this works for layering for autumn
And finally I pulled about ANOTHER piece of remnant bin yarn-dyed linen in mushroom pink and it also seemed to pair beautifully with the khaki linen (khaki is a fabulous neutral!) so decided to add it to the challenge…
I made myself a Paper Theory Olya Shirt. I needed determination to make this one happen!!
Firstly there was an epic pattern Tetris episode to fit it on the piece of linen I had chosen. I even photographed by leftover scraps because I was so proud of myself!

Fabric scraps after pattern tetris to make an Olya shirt
Then I realised when I went to attach the cuffs (late in construction)… I had only cut out one set. I felt like crying. I lay awake in bed, contemplating if having contrasting cuffs was cheating… and if I did that, should I add contrast collar band and button plackets… yes, I like to overthink things.

Whew – two pieces large enough for cuff pieces
Fortunately I found two pieces and squeezed out two more cuffs pieces. Whew!
THEN I unpinned my collar bands to discover I was missing a chunk of fabric from one of the bands (the perils of block fusing and then cutting out on the fold!). There was definitely no.more.fabric to cut another band. Cue more overthinking…. and then I decided to just ‘patchwork’ a piece onto the collar band. Not ideal but it worked.

Agreed. The grainline of the piece is not ideal… however it was the only option.
This is a slightly more complex shirt in some ways – there are hidden pockets in the front seams and the front yoke extends into the sleeve. I highly recommend following along with the Paper Theory sewalong online for attaching the sleeve. There is a pivot point, which is a little tricky and then you need to figure out where to go next and where to stop. Hard to explain however the best advice I can offer you is to just slow down – or even walk away for a while if you are finding it perplexing. There is nothing to invites disaster more than exhaustion and frustration!

Olya Shirt, Paper Theory & Sadie Slip Dress, Tessuti Patterns

Olya Shirt – it is a very roomy shirt, boxy and airy.
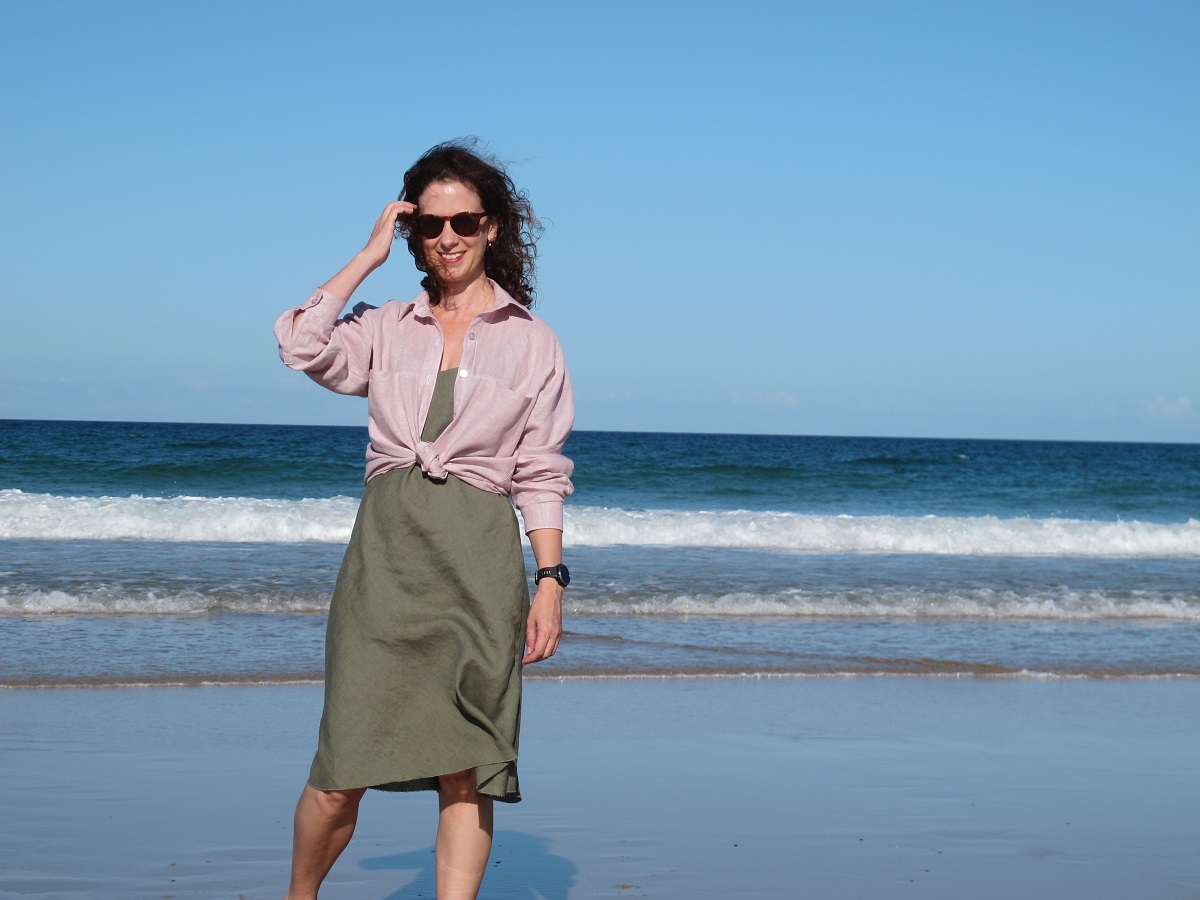
Love these colours together!
I made this pattern up as a shirtdress last year. Sorry it hasn’t made it onto the blog… I left off the front pockets on this version. While I like the dress in itself, it feels like a massive pyjama shirt due to the colour/stripe and I’m not sure what to do with it. Maybe dye it… or wear it open as a duster coat. Or just put it aside for a while. I did that with my Flint Pants and now wear them regularly.

Olya Shirt dress
Anyway… I’m pretty pleased I hung in there and finished off these three remnant bins garments. Challenging myself to use a piece of fabric, find a suitable pattern from my stash and turn them into versatile wardrobe additions is a real win.
Fabric: 1.4m Rayon print knit, cost $3.80; 1.4m khaki premium linen suiting, cost $10.40, 1.5m dusky pink yarn dyed linen $10. Total cost $24.20
Patterns used: Rise turtleneck, Papercut Patterns; Sadie Slip Dress, Tessuti Patterns; and Olya Shirt, Paper Theory.
So there you have it. Three new wardrobe staples in 4 days. All unloved pieces from a remnant bin!
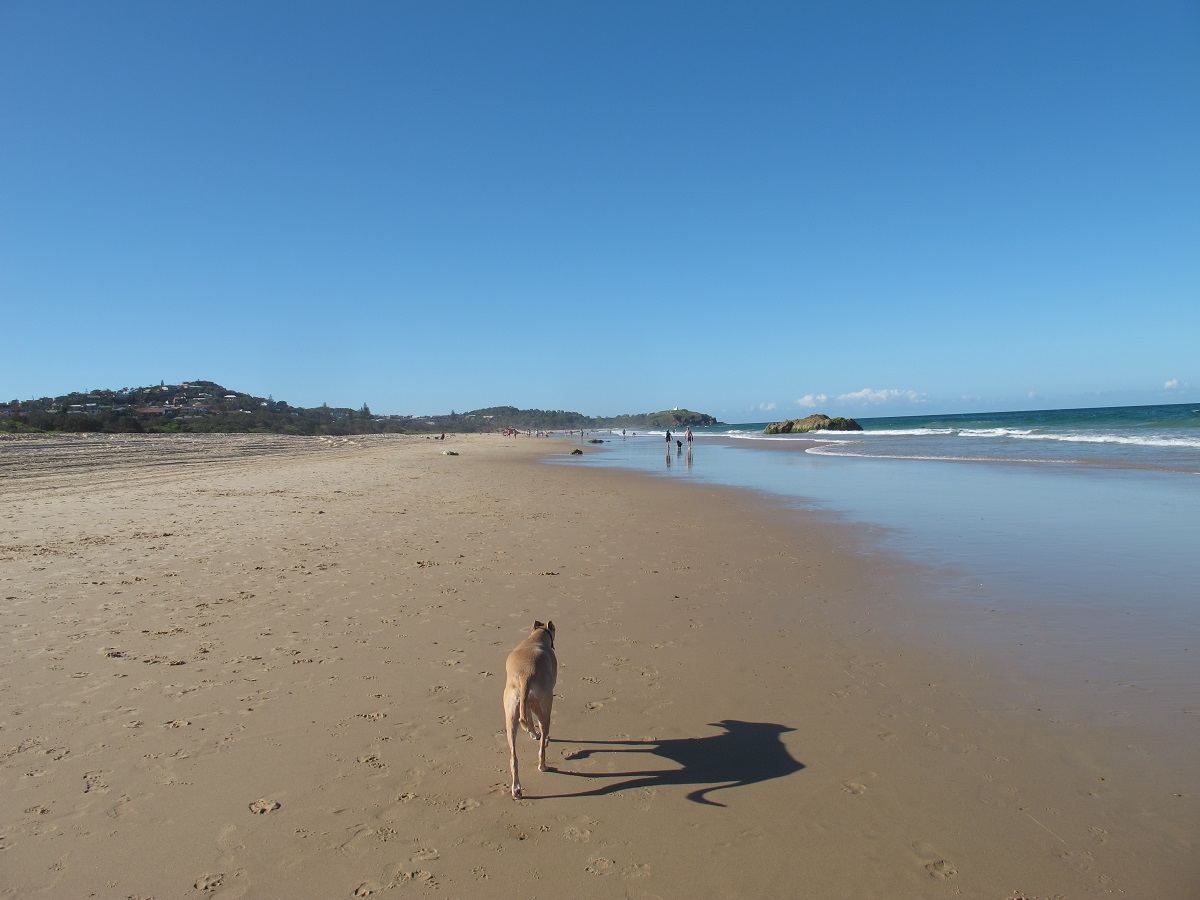
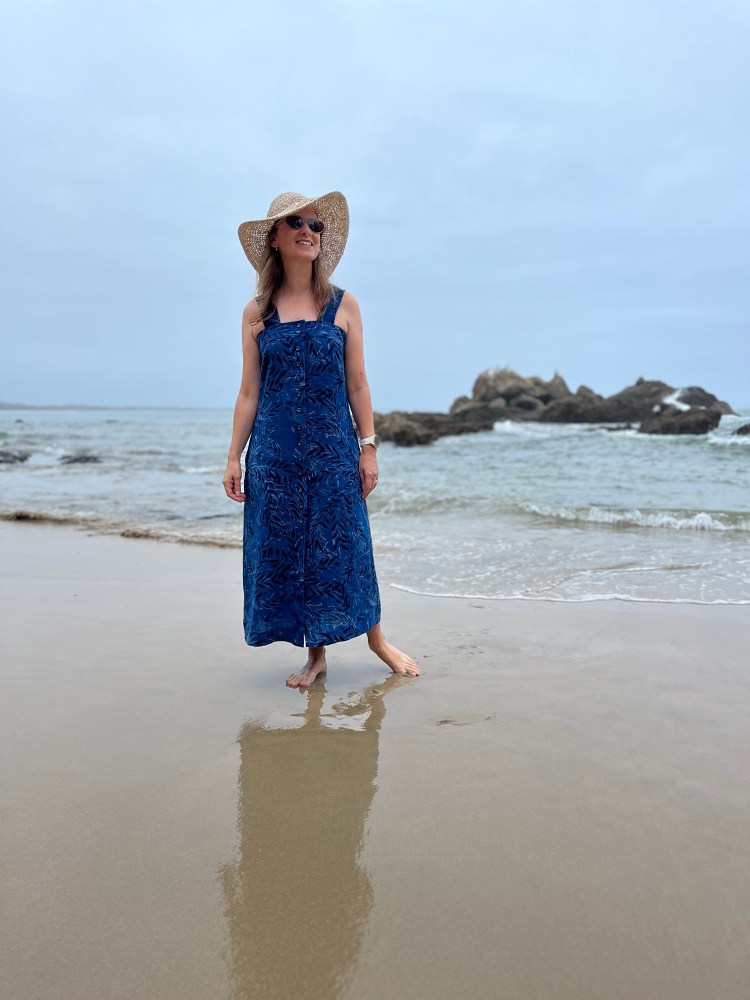
I’ve had people asked me if I get embarrassed taking photos at the beach. Well this one is 9kms long, you are always excessively socially distanced on this one! Yes, that’s old Banjo who always made regular and popular appearances on this blog and Instagram. He will be 11 in August!