Jack Jacket, Ready to Sew, in red wine tencel twill from MaaiDesign
It’s been a while!
It’s not that I haven’t been sewing… but I haven’t been sewing as much and I’ve been working long hours.
Sometimes I think projects come along at just the right time and it’s “meant to be”.
Maaike from MaaiDesign approached me and asked if I was interested in guest blogging. I did hesitate as September until February are some of my busiest work months but sometimes having something to sew makes you take some time out.
I decided to sew something I hadn’t sewn before – and once I spied tencel twill in the online shop I knew exactly what I wanted to make – a soft trench coat! I chose ‘wine red’ as it is a classic colour that never seems to date and goes beautifully with black, beige, navy and denim.
Fortunately I had the days off work between Christmas and New Year – and when I wasn’t scrubbing my house tiles, I was sewing this jacket.
PATTERN
The Jack Jacket – Ready to Sew
I almost made Simplicity 8554. And then I settled on a Japanese pattern which I had traced and added seam allowances to… and then just as I was about to cut out the fabric (the pattern pieces were pinned to the twill!)… I suddenly recalled the Jack Jacket by Ready to Sew!
The Jack Jacket is a contemporary trench with some traditional features and some modern. It had a number of features that I thought would pair well with the tencel twill. It has some gathered design elements at the wrist, collar and waist which seemed a good match to the fabric’s drape and weight. Unlike the other two patterns I had considered, the Jack Jacket has lining which I think makes for a more durable garment.
It is described as “A classic coat crafted with contemporary details, the Jack Trench Coat is an essential layering option that will remain a timeless piece for years to come.
It features big curved lapels, a gathered collar and a self-tied waist. Jack has a loose and comfortable fit. It falls beautifully whether the jacket is tied or left casually open.” What the website doesn’t mention is that it has giant lined patch pockets and lining.
The Collar

A sweet collar detail – just perfect in this tencel twill!
Waist Tie
This fabric has a beautiful selvage and I was keen to use it somehow in the garment. I couldn’t find any cord, ribbon or leather that I liked for the jacket. So I made my own.
The wrist and collar cord were made by folding strips of the fabric in on itself and top stitching the edges. I deliberately cut out my pattern pieces to preserve approximately 2 inches of along the entire selvage for the waist tie.

Making use of the beautiful selvedge for my waist tie.
I tightly knotted the cord ends to finish them.

Sleeve cuff details

The hem has perplexed me a little. I find it wants to droop a little. I think I may add a line of machine stitching at about 1.5 inches. While the hemline is interfaced, I think the drape of the twill is fighting gravity.

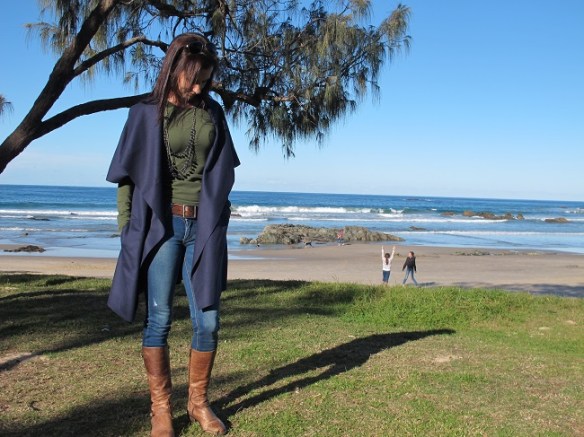
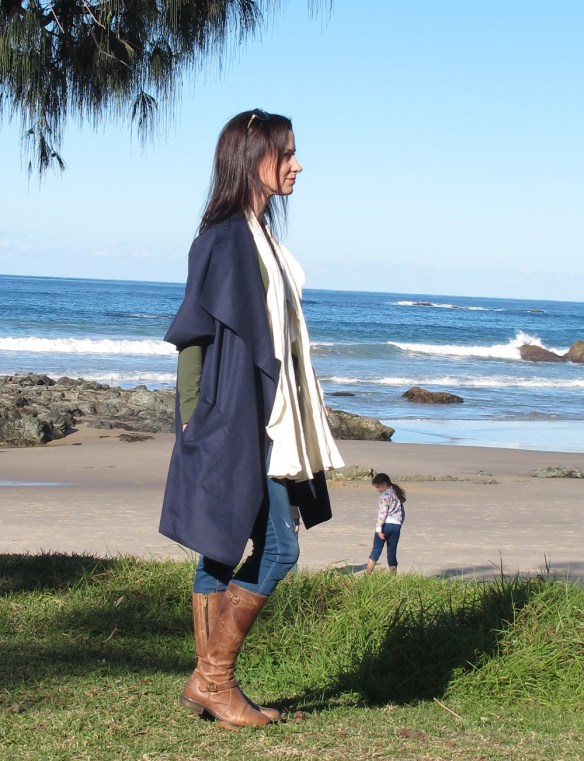
Ready to Sew’s Jack Jacket in tencel twill from MaaiDesigns
Overall I found this pattern an absolutely joy to sew and I am very tempted to try some more from this designer. The lining has a pleat in the back and also at the hemline – and the lining has its own pattern pieces, no drafting or second guessing the lining pieces. I did find the instructions confusing for how to sew the lining at the sleeve ends. So I reverted to the instructions for the sewalong for the Minoro Jacket by Sewaholic.
The Lining

Ballerina lining fabric from Clear It, Melbourne
This was gifted to me by a beautiful sewing friend. I have not seen it online anywhere. It was from Clear It in Melbourne.
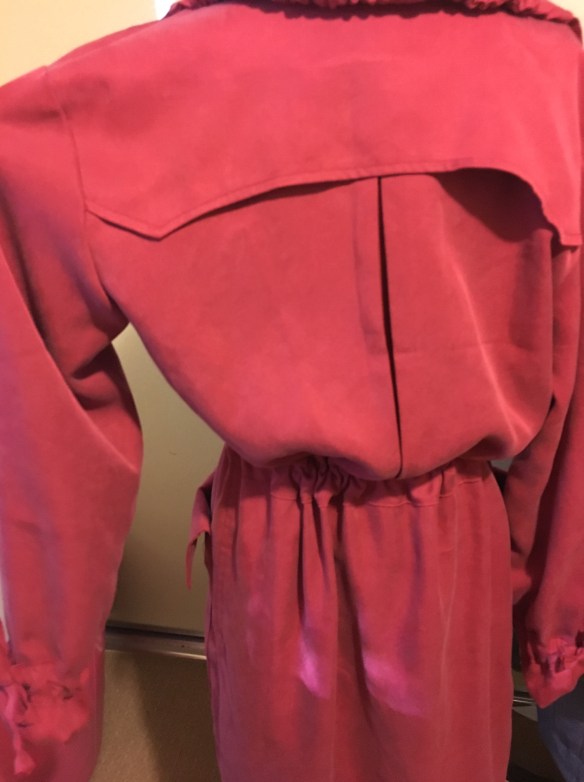
A back pleat and flap – more traditional trench design features, needs a good press here. I was excited mid construction!
I had such a hard time photographing this one! It was either terribly hot (we have had the hottest December and January on record here) and it’s also been extremely windy!
Pattern: Jack Jacket, Ready to Sew. I made size 36, my bust is 33in/83cm.
Fabric: Red wine tencel twill. Supplied by MaaiDesign – all thoughts and comments my own.

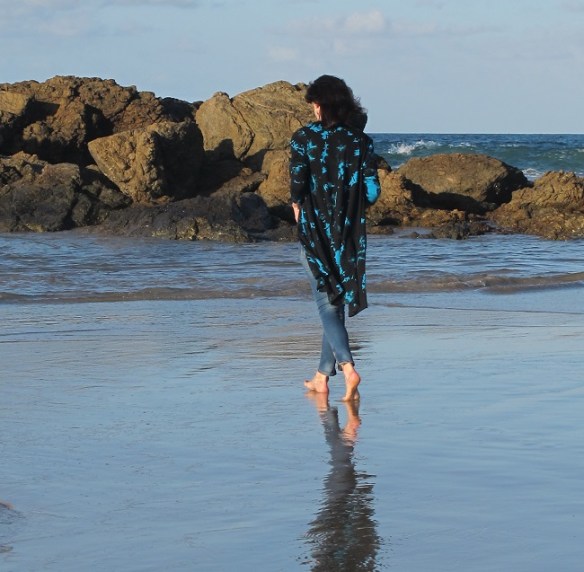
Casual at the beach as the sun goes down
This post first appeared on www.sewbusylizzy.com