I promise I will blog about my travels – however today I was a little excited to finish my ‘nearly’ Elisalex… she’s a fickle lass. She woke up on Saturday and announced that she was going to be Elisalotte – thank you every much.
The gorgeous girls (yes they seriously are gorgeous – I met them at the EPIC London meet-up – more on that soon) from By Hand London contacted me in January and offered to send me a copy of their Charlotte & Elisalex patterns. Remember my Charlotte skirt?

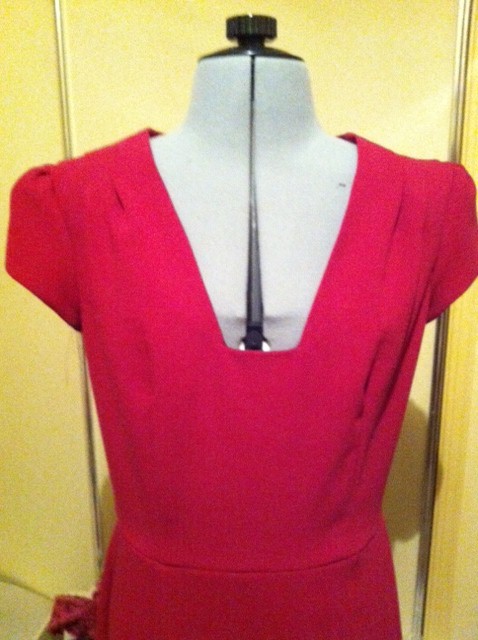
Charlotte The Second: By Hand London
I saw several gorgeous Elisalexs at the London meet-up including Dolly Clackett and Taracat. This made me more determined than ever that I WOULD make this dress! Then Oopbop posted a floral delight very soon after I hit Aussie soils. ARGH – time to start sewing!
I’m a little OCD about fabric and pattern matches and sent myself barmy looking since January for Elisalex.
Turns out I needed to head to downtown Brixton, London to find my match. For the non-UK residents, Brixton is located in south London, it has sizable African & Caribbean populations so it’s little wonder that I discovered African wax fabrics there!
And I found this…
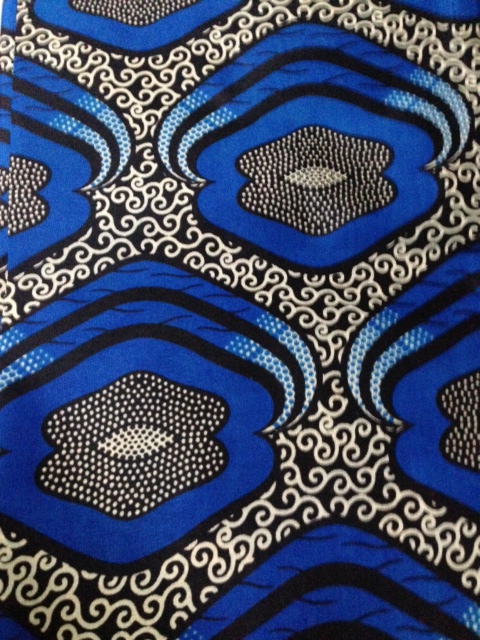
African wax fabric from Brixton.
I had made a bodice muslin in January. I decided to re-purpose the muslin side panels into the new dress. I love the colour block effect. I think it just enhances the visual impact that the princess seams of this dress create.
I made up the Elisalex skirt in all its glory. It is a gorgeous tulip shape – however I just looked like a scrawny toothpick arising from a circus big top. I just don’t have the ‘oo la la’ to carry it off. So I became reacquainted with the seam ripper and scissors – and ‘lex’ became ‘lotte’.
I was happily amazed at how easily the Elisalex bodice and Charlotte skirt went together, I simply changed the skirt seam allowances to 10mm instead of 15mm. I was amazed at how beautifully the entire dress came together!
and well… this is how Elisalotte looks…

Elisalotte dress – bodice

Elisalotte dress – front view

Elisalotte dress – back view. I think what makes this dress gorgeous is the wide neckline and back. It creates shape, balances out hips and chisels the waist. Love it.
My pattern matching is slightly askew. I blame the jet lag – which has been rather hideous! I admit, I quite like this creation, it’s striking, ’tis all I have to say on the matter…
oh, and you really should give this pattern a whirl. It’s fun to make, easy and packs a punch. The bodice is well drafted. My back does gape just a little – I’m not sure of the pattern fitting fix for scrawny upper backs.
Note: the By Hand London girls have just put their rather fabulous Victoria blazer on sale… waiting, waiting, waiting for it to hit Aussie soils (and you can buy your Aussie ones from SewSquirrel!).
and one more just for fun 😉 (thanks ELH for the pictures xox)

Elisalotte dress – action shot
PS forgive me any spelling errors etc I blame ket lag (how long can I use that excuse?)
PPS just noticed I typed ket lag instead of jet lag. So hilarious I’m leaving it as is!