It’s been HOT and I needed more shorts in my life…
Hello Sweet Shorts from Pattern Runway…

Sweet Shorts by Pattern Runway

Sweet Shorts by Pattern Runway – oops sorry – shoulda fixed my naughty front pocket – too much twirling!
I adore this fabric. It’s a cotton/poly blend from Spotlight. I love its lacy embroidered look – and the fact it doesn’t crush like crazy with wear!! I usually would not touch poly-anything with a ten-foot pole but this fabric was too lovely… it whispered ‘Sweet Shorts’ to me as I walked past…
I was tempted to use the reverse as a contrast on the side pockets… but I wanted a simple pair of white lacy-look shorts so steered clear of the contrast, I felt it would ruin the lovely silhouette of this design & distract from its features.
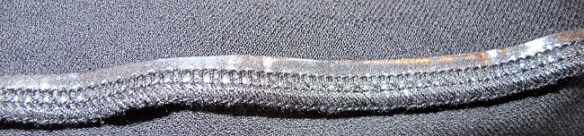
Hello back single welt pockets…

Sweet Shorts – back pocket, single welt. So, so, so close to perfect!
Hello side slash pockets…

Sweet Shorts – side pocket
Hello single scallop front…

My favourite feature. The front scallop and a high waist is a cute leg lengthener. My pattern matching on the centre seam is not too shabby either.
Sewing Shorts the SewBusyWay
I’m not a muslin maker – unless I have concerns about ease & fit… and shorts always fall into the category for me. I don’t have a lot of meat on me but I have a small waist and a set of hips. I don’t mind my hips… they make my waist look small (looking for the positives people!) – and gave me two huge gorgeous healthy babies.
I did make a muslin of these in size S. I found them to be on the larger side of the scale and sized down to XS. I did try taking in the side seams but then found it was hard to get my hand into the side pocket openings… which sort of defeats the purpose of side pockets… the back also gaped enormously… rather like my Maritime Shorts did at first…
To deal with the back gape, I changed the construction of these shorts.
I split the back waistband in half – adding seam allowances to the centre.
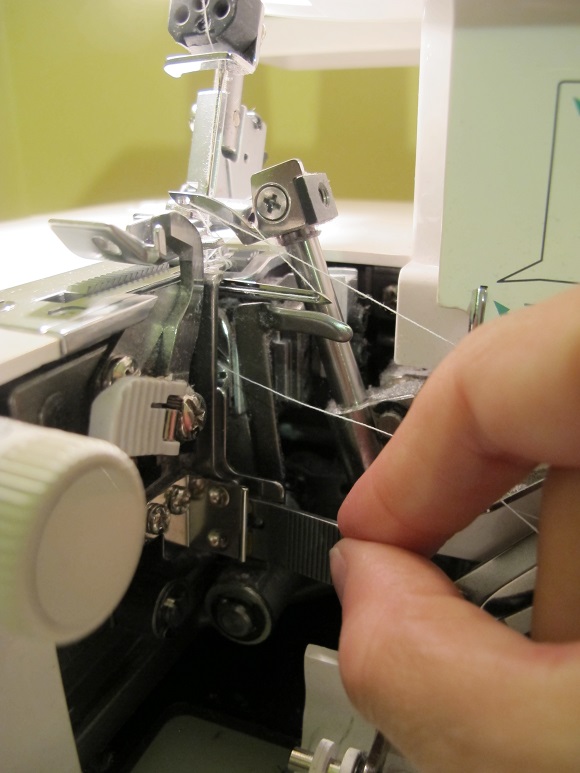
I sew the left-hand side of the shorts and the short inner leg seam. I then attached the waistband in two pieces. Inserted the invisible zip and finished the right-hand side.
I then sewed the crotch seam. I sewed from the front to the back until a few inches below the welt pocket. I then basted the rest of the back seam and checked the fit – I had to take about an inch out of the back as a graduated seam from below the welts to the top of the waistband. Once I was happy with the fit, I sewed the back seam and neatened the seam. I then transferred this amount to the waistband facing, attached it and finished the shorts in the usual way.
This is how I fitted the Maritime shorts. I could have done a massive swayback paper based alteration, redrafted the waistband and so on. However for me this solution works – yes there is a join in the back waistband (which is how the Maritime shorts and Thurlows are anyway) – however for the sake of a great fit I’d forgo the one piece waistband. I’m not saying it works for everyone but it works like a dream for me.
I love the hems. They are faced and give the shorts a lovely finish – and much easier than normal hems!
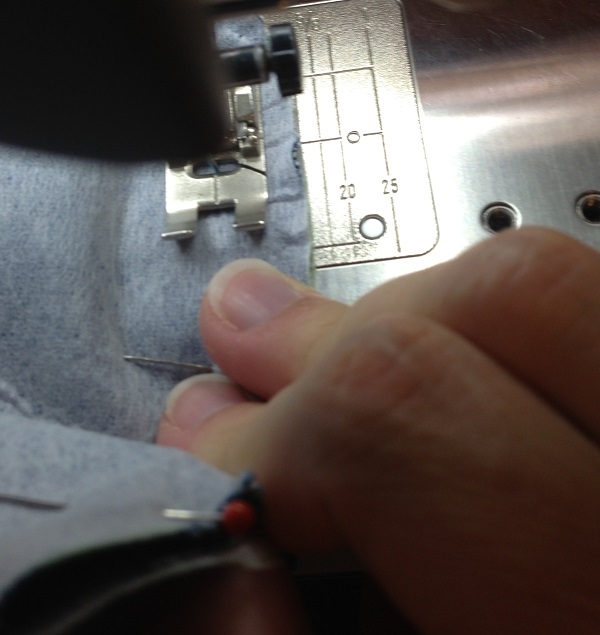
I did find the instructions for attaching the welt pocket linings confusing… so I just tossed the instructions aside and figured it out for myself. I often find this is the best way to deal with something baffling when sewing. Just puzzle it out using logic, pins and other garments as a reference.
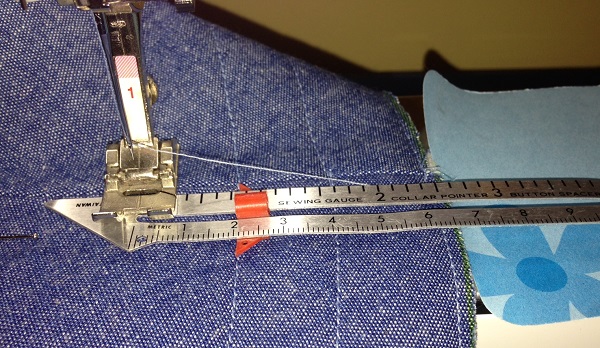
I have a very simple trick when I attach waistband facing. I run a line of basting stitches along the edge of the waistband – so I know exactly where I need to turn the fabric over when I turn the facing to the inside, turn the seam allowance under (using the basting as a guide) and slip stitch the facing to the inside of the shorts. Then I remove the basting. This simple step improves the finish by a country mile – and hastens the ironing and slip stitching process – no guessing by eye or using a tape to check the turn.
Conclusion?
These shorts are not a simple or quick make, there are welt pockets, side slash pockets, faced hems and more. However they are not that hard either. You do need to take your time, possibly make a muslin to determine fit and be patient to achieve a nice finish. They are well drafted and go together beautifully.
I love the flat front, the front seams, the scalloped hem, the back welt pockets, the high waist… fabulous pattern!
I really enjoyed making these. I’ve decided I need a pair in denim…

Windy day!
Sew Neurotic Lizzy
I’ve always shied away for posting too many construction pictures. I’m notoriously hard on myself. That mentality of ‘coulda & shoulda’ done better. I’m tough on myself and always kept my methods & garment ‘innards’ to myself. So brace yourself. This is it.
Note: These shorts are damp and could have been better pressed for these shots… these were immaculate… until a small incident with a small child and red nail polish – I then spilt some nail polish remover on the pocket lining… boo… but you can’t see it from the outside of the shorts – whew. The lining was just bemsilk from the stash.

Sweet Shorts – inside back

Sweet Shorts – inside front
You know… I’ve come to the realisation I’m ok. I can sew. I can sew pretty well. I might not be technically trained. I tend to sew via inspiration & intuition. My fit techniques are not the paper-based ones. I think via my hands – I wave my arms when I talk and I think I sew the same way.
I do take my time with construction, I love a complicated pattern. I love to sew it neatly, I take my time to improve and learn new techniques – and sew like a possessed woman of course. However when I get stuck or something freaks me out – I don’t plough on these days. I put it aside. I try it on. I readjust. Try a different placement. I find a solution. I feel hellishly proud of my work by the end and often fall in love with my makes.
I like to take nice photos. I get a vision in my head of an outfit and that’s what inspires me to sew.
Blogging was also made me realise just how beautiful my home town is – so I indulge myself and my readers wallowing in drifts of snow in a different hemisphere! My clothes are a reflection of my lifestyle, climate and personality – this is who I am.
I’ve decided that a passion for sewing, nice pictures, style/fashion obsession, good construction and a generally happy & positive outlook on life despite any challenge that comes my way doesn’t make me a lame sewist… just a different one. Not better or worse, just me. I’m OK with that.
Pattern: Sweet Shorts Pattern Runway
Fabric: Cotton/poly blend from Spotlight, $19.95 a metre, I used 90cm.
Also see: Poppykettle | House of Pinheiro | Dixie DIY | Cirque Du Babe
Oh and we spotted several of these guys on the way home from taking the above photos…
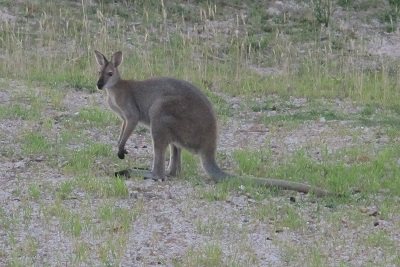
Cute Aussie critters