Last post I mentioned the Japan Sew Along over at Tanoshii which I discovered on Instagram. I’ve got a rather healthy collection of Japanese sewing books, in fact they outnumber all my other sewing books, I haven’t blogged my collection as I like to sew from things from them first – I’m a ‘proof is in the pudding’ girl. So I decided to try Stylish Skirts: 23 Easy-to-sew Skirts to Flatter Every Figure.
Warning: I’ve included many pictures so you get a good overview of what to expect with this book.
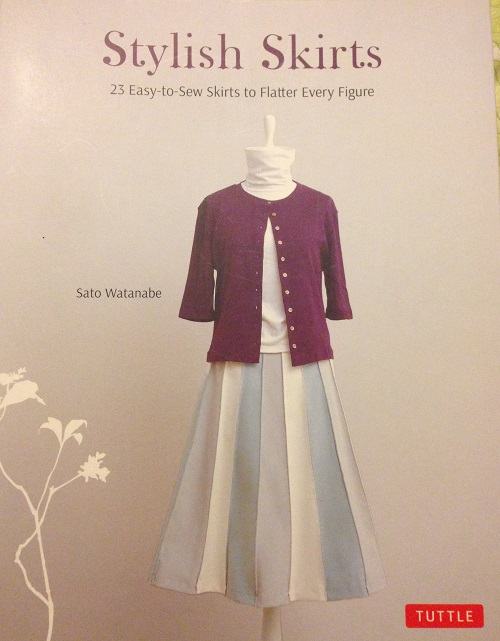
Stylish Skirts by Sato Watanabe. Published by Tuttle
I’ve seen this book reviewed a few times but there are only a few skirts floating about on the Internet that I could find. I’m sure there are more but there is only so much time I have to hunting down slightly obscure things on the Internet!
This book is interesting because unlike many sewing books there are no pattern sheets. Each skirt ‘pattern’ is a simple diagram showing you how to draft the pattern – or in some cases a cutting layout diagram with the pieces and measurements marked in inches (centimetres in brackets). I really like this aspect of the book.
Unless you are absolutely not-a-skirt-wearer, I think many people would find something to appeal or suit their style in this book. Many of the skirts are composed of panels drafted on waist and hip measurements so the sizing is up to the drafter. The simple skirts (such as gathered skirts) could be made smaller or larger quite simply – more or less fabric for the panels or waistband. There are 23 skirts in total. I’m sharing a few below.
Warning: you need to add seam and hem allowances to the measurements provided, the instructions are brief and the drafting diagrams may take some puzzling out. There are plenty of diagrams to help you along.
You probably don’t need this book to draft some of the most basic skirts… however some of the other skirts are more complex… or quirky…
The book content pictures not fabulous – taken earlier tonight while sitting on my bed using the iPhone (eating chocolate slice) – but I think you get the idea. I often find the line diagrams are very helpful, particularly as I don’t think you can see the interesting design lines for some of these skirts.

This is perhaps my favourite. I love those ‘snail’ panels.
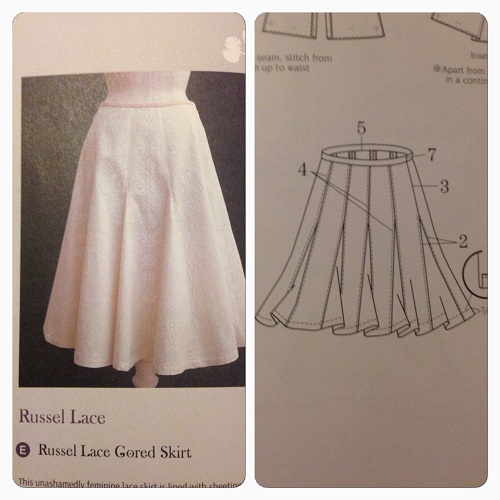
A beautiful gored lace skirt
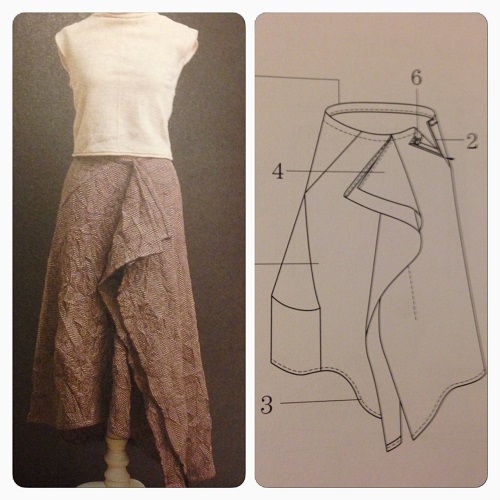
a draped skirt… yes my weakness!
All of these skirts are quite simple yet there is attention to detail and an appealing timeless simplicity to them.

Lovely simple embroidered and pintucked skirts
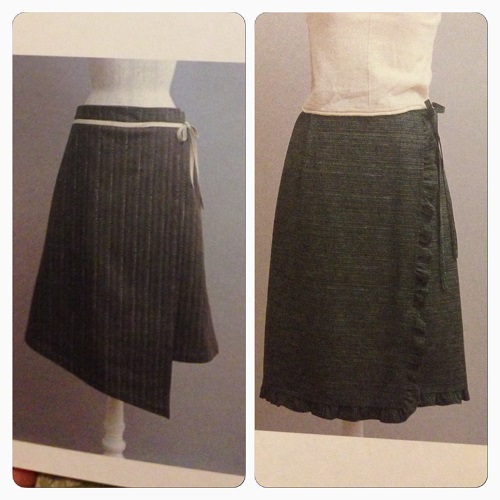
Some cute wrap skirts from Stylish Skirts

I think the skirt on the left is a classic… however I suspect the nautical style of the skirt on the right will appeal to many!
Personal Thoughts on Stylish Skirts: I do like this book. It’s a little different to the rest of my Japanese book collections. The skirts range from simple through to more quirky. I will be sewing more, it’s a timeless collection of skirt patterns.
I chose a simple, irregular tiered (rather than the traditional three-tiered) boho skirt, the gathered tiers are broken or staggered.
As I was working with a number of rectangles, I drew a diagram with each panel marked with the finished measurements. I also pinned a little piece of paper so I knew which rectangle belonged where to minimise confusion when sewing the pieces together.
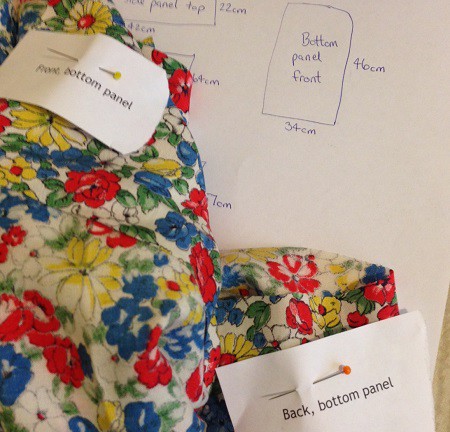
sewing notes to keep me on track
The skirt is very simple, composed of a front and back panel and two identical side panels. Each panel is broken into a top and bottom piece. You simply gather the bottom pieces attach them to their respective top pieces to make a panel. The panels are attached to form a tube and you attach the waistband.

A line drawing of the skirt
The waistband has three channels, elastic on the top and bottom channel and they central channel with a drawstring. I’ve never been a fan of thick elastic waistbands but I think the two pieces of thinner elastic and a drawstring is very comfortable to wear. I also think the waistband is quite pretty with the three gathered rows. Once you finish the waistband you hem the skirt… And you wear it for the whole weekend… at least that is what I did!
NAVY BRODERIE ANGLAISE
My first effort was in a simple navy broderie anglaise from Spotlight. It’s a little crisp but you can clearly see the panels and gathers.

it was very hot and very very windy – somehow this was snapped between gusts of wind!

Side view
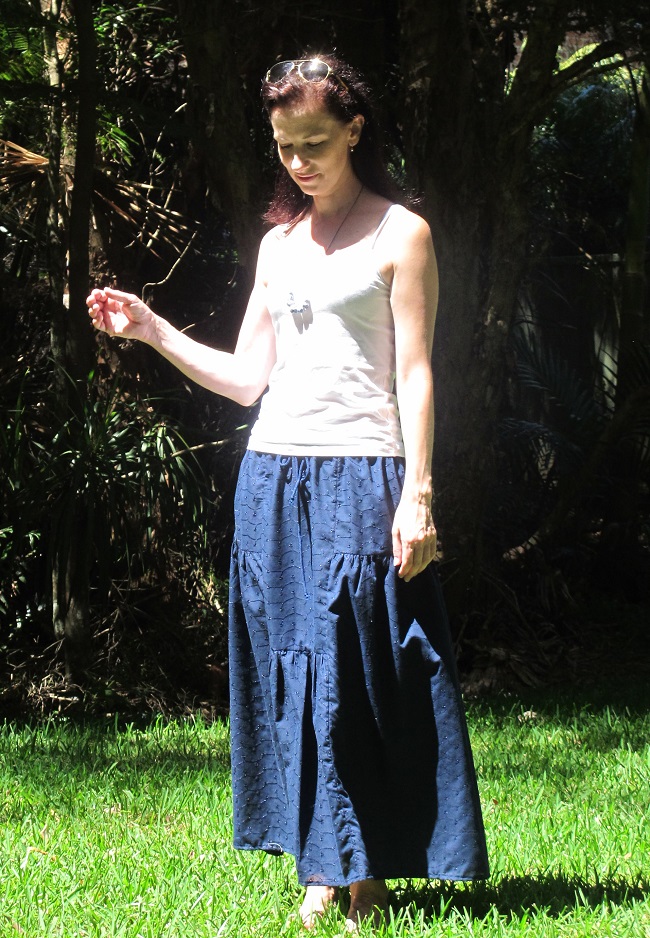
This is after the beach – later in the afternoon, post housework and other exciting events in my daily life. My arms are always in motion it seems – either to put on/take off/adjust sunnies – a habit hard to shake if you spend a lot of time outdoors I guess.

back view: the wind was in-escapable on Sunday. Hot and horrid!
VINTAGE FLORAL
This one is quite different, a vintage rayon (I think) from a Lifeline charity shop, I paid just $3 for 4 metres. It was quite narrow, less than a metre wide. The gathers and design details are less obvious but it’s a pretty skirt and flows beautifully as I walk. Cotton lace from the stash.


I think I’m mid-sunglasses installation here so let’s just look at the skirt 🙂
Construction notes: I gathered the lower panels using two rows of stitching. I ironed the gathers flat once I had them even – I find sewing over the gathers produces a new even result this way. I overlocked all the seams together after I sewing the panels together using my sewing machine. I used lacing cord (it has some stretch) as my drawstring rather than making a self cord. This skirt is not rocket science, it’s very easy… but very comfortable and easy to wear for casual days.
I do like these skirts. They aren’t fancy or couture makes by any stretch of the imagination however I love maxi skirts… long, loose, soft skirts that I can tuck my feet under and curl up in. These will be worn a lot. Boho-style clothes and I are good wardrobe buddies. It’s one of those styles I always feel at home and relaxed in.
BOOK: Stylish Skirts: 23 Easy-To-Sew Skirts to Flatter Every Figure by Sato Watanabe
FABRIC: navy broderie anglaise from Spotlight (purchased at the recent 30% off fabric sale) and vintage floral fabric.
NECKLACE: from Mrs Peterson Pottery… love this one…
(note: all purchased by me)
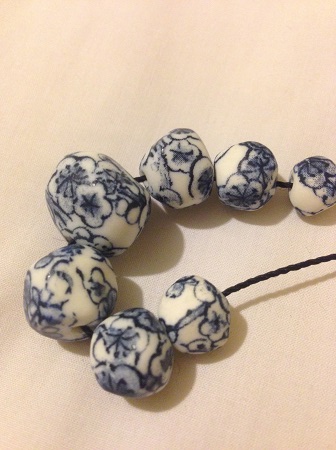
Mrs Peterson’s Pottery necklace